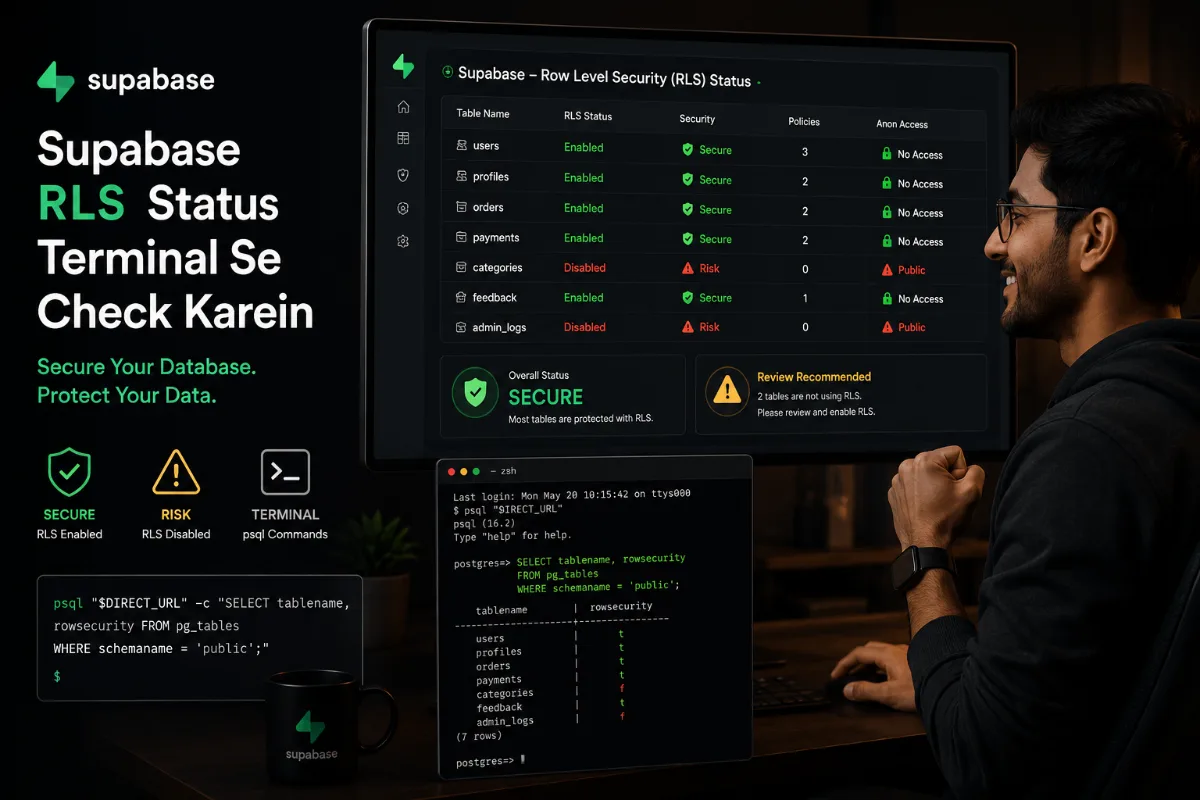
If your project is built with Google Antigravity, Cursor, Windsurf, VS Code, or any other AI-powered IDE and uses Supabase as its backend, there will eventually be a time when you need to verify whether Row Level Security (RLS) is enabled on your database tables.
Many AI assistants—including Gemini Flash, Claude, and ChatGPT—cannot perform live database security audits because they don't have direct access to your database. In those situations, checking your database directly from the Terminal is the most reliable and accurate way to verify your security configuration.
This guide walks you through the entire process from start to finish.
What You'll Learn
- Which environment variables are required
- How to install psql for the first time
- How to check the RLS status of every table
- How to find tables without RLS enabled
- How to inspect RLS policies
- How to verify which tables are accessible by the anon role
Part 1: Which Environment Variables Do You Need?
To check the RLS status, you only need one thing—a direct PostgreSQL connection string.
In most projects, you'll already find it inside your .env or .env.local file.
It is commonly stored using one of these variable names:
- DIRECT_URL
- DATABASE_URL
- POSTGRES_URL_NON_POOLING
Note: If you're using DATABASE_URL, make sure it does not include pgbouncer=true.
Direct Connection String Format
postgresql://postgres:[PASSWORD]@db.[project-ref].supabase.co:5432/postgresUnderstanding Each Part of the Connection String
| Component | Description |
|---|---|
| postgres | Default PostgreSQL username |
| [PASSWORD] | Your database password |
| db.project-ref.supabase.co | Your Supabase database host |
| 5432 | Direct PostgreSQL port |
| postgres | Default database name |
Direct Connection vs. Pooled Connection
Supabase provides two types of PostgreSQL connections.
| Connection Type | Port | Recommended Use |
|---|---|---|
| Direct Connection | 5432 | Terminal, psql, migrations, database inspection |
| Connection Pooler (PgBouncer) | 6543 | Production applications and high connection workloads |
If your connection string contains:
- pgbouncer=true
- or Port 6543
then you're using a pooled connection.
Trying to use that connection with psql often results in an error like:
invalid URI query parameter: "pgbouncer"For Terminal-based RLS checks, always use the Direct Connection on Port 5432.
What If You Can't Find the Direct Connection?
Open your Supabase Dashboard and navigate to:
Project Settings → Database → Connection String
You'll typically see two options:
- Session / Transaction Pooler (6543)
- Direct Connection (5432)
Always copy the Direct Connection.
Example:
DIRECT_URL="postgresql://postgres:[password]@db.xxxxx.supabase.co:5432/postgres"Are Other Environment Variables Required?
No.
The following variables are required for your application to run, but they are not needed for checking RLS.
- NEXT_PUBLIC_SUPABASE_URL
- NEXT_PUBLIC_SUPABASE_ANON_KEY
- SUPABASE_SERVICE_ROLE_KEY
Part 2: Install psql (One-Time Setup)
If running this command:
psqlreturns:
command not found: psqlthen PostgreSQL Client Tools are not installed on your machine.
This setup only needs to be completed once.
Step 1 — Install PostgreSQL Client
brew install libpqStep 2 — Fix Homebrew Permission Errors (If Needed)
If Homebrew displays an error similar to:
opt/homebrew is not writablerun:
sudo chown -R $(whoami) /opt/homebrewEnter your Mac login password when prompted.
Then install again:
brew install libpqStep 3 — Add psql to Your PATH
After installation, psql may not be available globally.
Add it to your shell PATH:
echo 'export PATH="/opt/homebrew/opt/libpq/bin:$PATH"' >> ~/.zshrc source ~/.zshrcStep 4 — Verify the Installation
psql --versionExpected output:
psql (PostgreSQL) 18.4Once you see the version number, your setup is complete.
You won't need to repeat these installation steps for future projects.
Part 3: Check the RLS Status from the Terminal
Now you're ready to inspect your database security.
Step 1 — Open Your Project Directory
Open Terminal and navigate to the root of your project where the .env file is located.
Step 2 — Load the Database Connection String
If your environment variable is named DIRECT_URL:
export $(grep DIRECT_URL .env | xargs)If your project uses another variable name such as DATABASE_URL, replace it accordingly.
Step 3 — View the RLS Status of All Tables
psql "$DIRECT_URL" -c "SELECT tablename, rowsecurity FROM pg_tables WHERE schemaname='public' ORDER BY tablename;"Understanding the Output
| Value | Meaning |
|---|---|
| t | Row Level Security is enabled |
| f | Row Level Security is disabled |
If a table shows t, RLS is enabled.
If it shows f, that table is currently unprotected and should be reviewed before deploying your application.
Step 4 — Show Only Tables Without RLS
To quickly identify tables where RLS is disabled:
psql "$DIRECT_URL" -c "SELECT tablename FROM pg_tables WHERE schemaname='public' AND rowsecurity=false;"If the result is:
(0 rows)then every table in your public schema already has RLS enabled.
Step 5 — View All RLS Policies
To inspect every policy configured in your database:
psql "$DIRECT_URL" -c "SELECT tablename, policyname, roles, cmd FROM pg_policies WHERE schemaname='public' ORDER BY tablename;"This query displays:
- Table name
- Policy name
- Allowed roles
- Allowed commands
Step 6 — Verify Access for the anon Role
This is one of the most important security checks.
It shows which tables can be accessed by unauthenticated (public) users.
psql "$DIRECT_URL" -c "SELECT tablename, policyname, cmd, qual FROM pg_policies WHERE schemaname='public' AND 'anon'=ANY(roles) ORDER BY tablename;"Which Tables Should Not Be Accessible to anon?
Sensitive tables such as:
- users
- profiles
- subscribers
- payments
- orders
- admin_sessions
- bookings
should generally not appear in this list.
If they don't, it means anonymous users cannot directly access their data.
Bonus Tip
If your Terminal output pauses and displays:
(END)you're simply viewing the results in a pager.
Press:
qto exit and return to the Terminal prompt.
Conclusion
Checking Supabase Row Level Security (RLS) from the Terminal is one of the easiest and most reliable ways to verify your database security.
With a valid Direct PostgreSQL Connection String and a few simple psql commands, you can quickly determine:
- Which tables have RLS enabled
- Which tables are still unprotected
- Which security policies are configured
- What anonymous (anon) users can access
If you regularly build applications using Supabase, PostgreSQL, Next.js, Google Antigravity, or other AI-assisted development tools, this should become a standard part of your development workflow. Performing these checks before deploying to production helps identify potential security issues early and ensures your database remains properly protected.
